Creating Maps
Introduction[edit | edit source]
This tutorial will show you how you can create your own maps that can be used in Tuxemon. Tuxemon maps can all be created using the free and open source Tiled map editor. Once you've downloaded and installed Tiled, let's get started!
Video Tutorials[edit | edit source]
Tile Layers[edit | edit source]
Tiles are drawn in-game in the following way:
- Layers 1-3: Tile is drawn below the player completely.
- Layer 4: Bottom-half of the sprite is drawn below tile, but top-half is drawn above tile.
- Layer 5 and up: Tile is drawn above the player completely.
Creating a new map[edit | edit source]
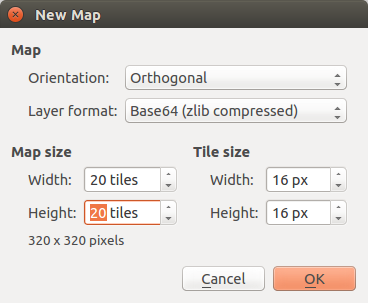
1. Open up Tiled and click on the ![]() icon to create a new map. Select "Orthogonal" for the map's orientation and set the tile size to 16 x 16 pixels. Then set the map size to any size you want. For this tutorial, we're going to make a 20 x 20 sized map.
icon to create a new map. Select "Orthogonal" for the map's orientation and set the tile size to 16 x 16 pixels. Then set the map size to any size you want. For this tutorial, we're going to make a 20 x 20 sized map.
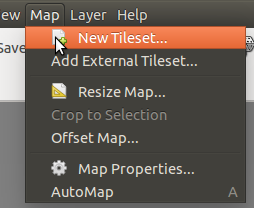
2. Next, we need to add the tilesets that we're going to use for our map. Tilesets are images that contain all the tiles we're going to use in our map. If you want to use your own tilesets, save them under "resources/gfx/tilesets". Now, to add a tileset to our map, go to Map-> New Tileset....
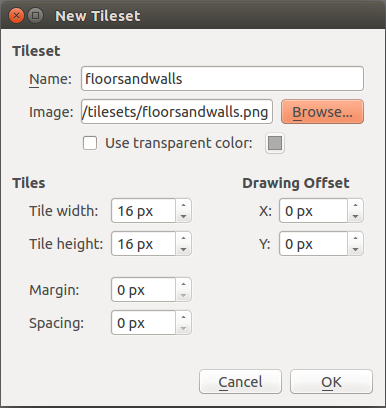
3. Click "Browse" and select a tileset image from "resources/gfx/tilesets". In this tutorial, we'll select "floorsandwalls.png". Then click "OK" to add the tileset to our map. You can do this multiple times to add additional available tilesets to our map.
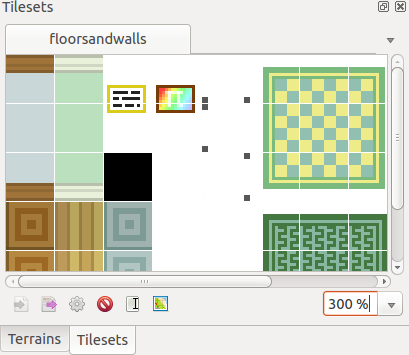
4. Now our "Tilesets" box should populate with the tilesets we added to our map.
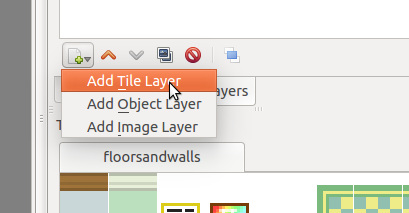
5. Now that we've added our tilesets, next we need to create some tile layers. Layers allow us to build our maps by placing some tiles on top of others. You can have as many layers as you want, but note that any tiles on layers above the 3rd tile layer are drawn above the player. This is useful for parts of the map where you want the player to appear behind parts of the terrain. To create a new layer, click the ![]() icon under the "Layers" box. Then select "Add Tile Layer".
icon under the "Layers" box. Then select "Add Tile Layer".
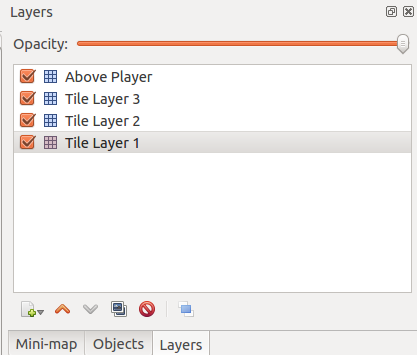
6. Add two additional tile layers and name the last layer "Above Player". This will let you know that any tiles you add to this layer will be drawn above the player.
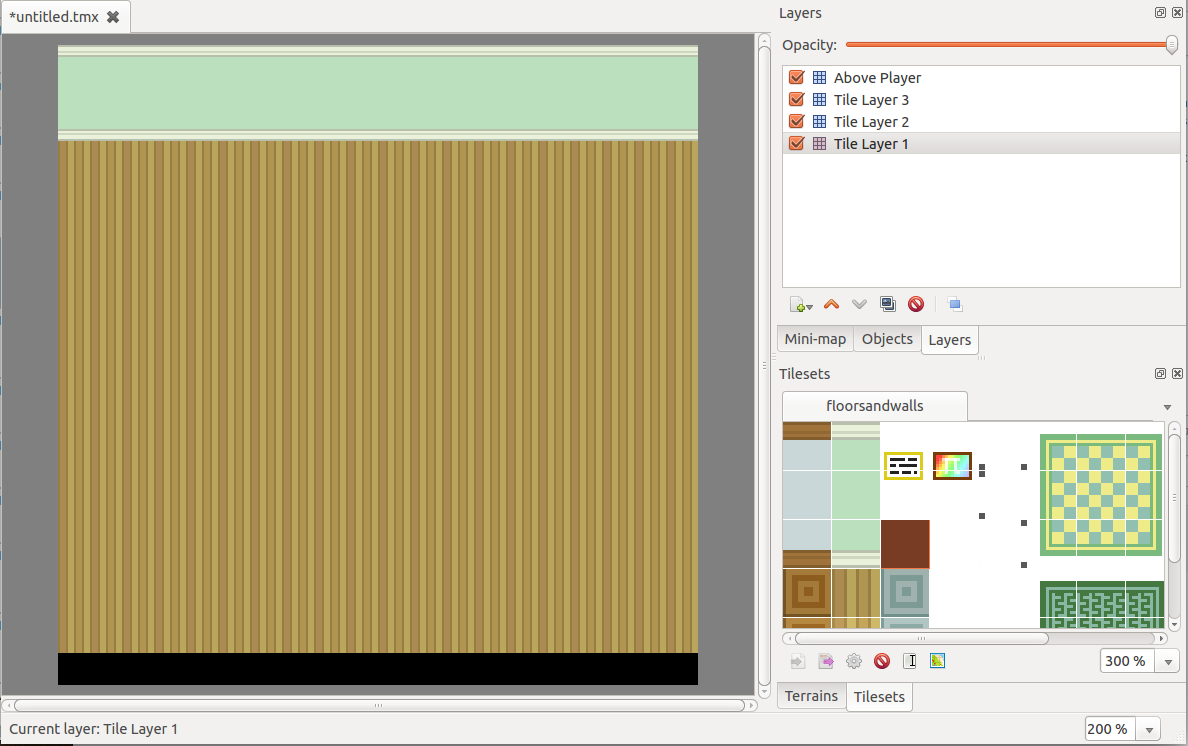
7. Now let's select "Tile Layer 1" and start making a nice little room. Click on one of the floor tiles from our tilesets and start putting down some tiles! Here's a nice little room I whipped up:
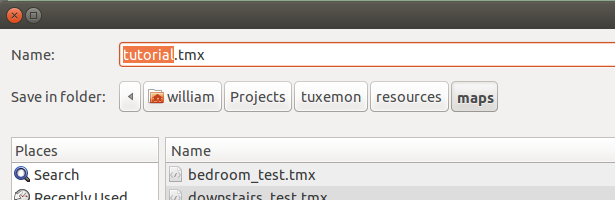
8. This looks pretty sweet! Let's save our map and test it out! Click on the "Save" icon and save your newly created map under "resources/maps". For this tutorial, I'll save the map as "tutorial.tmx".
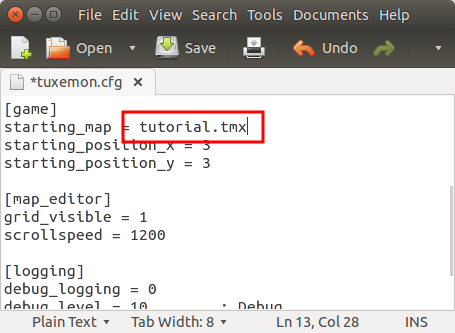
9. Now edit the tuxemon.cfg configuration file located in the Tuxemon directory and set the starting map to your newly created map!
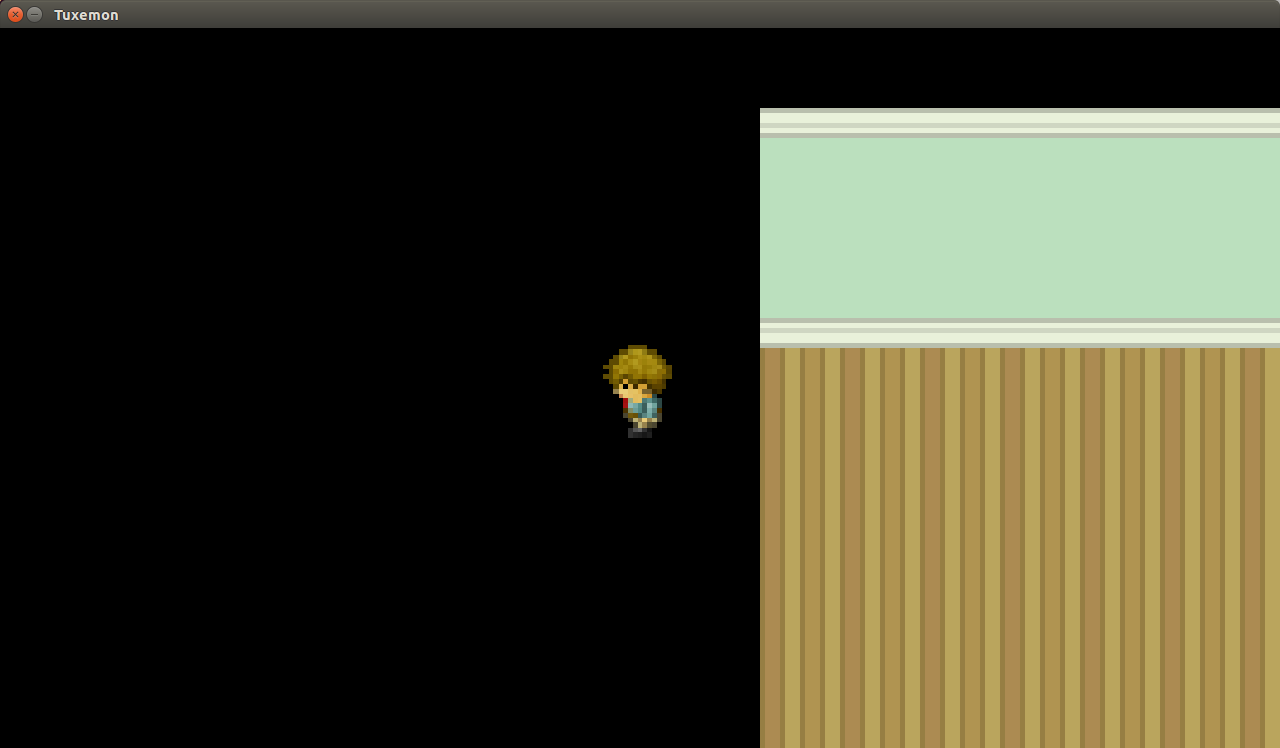
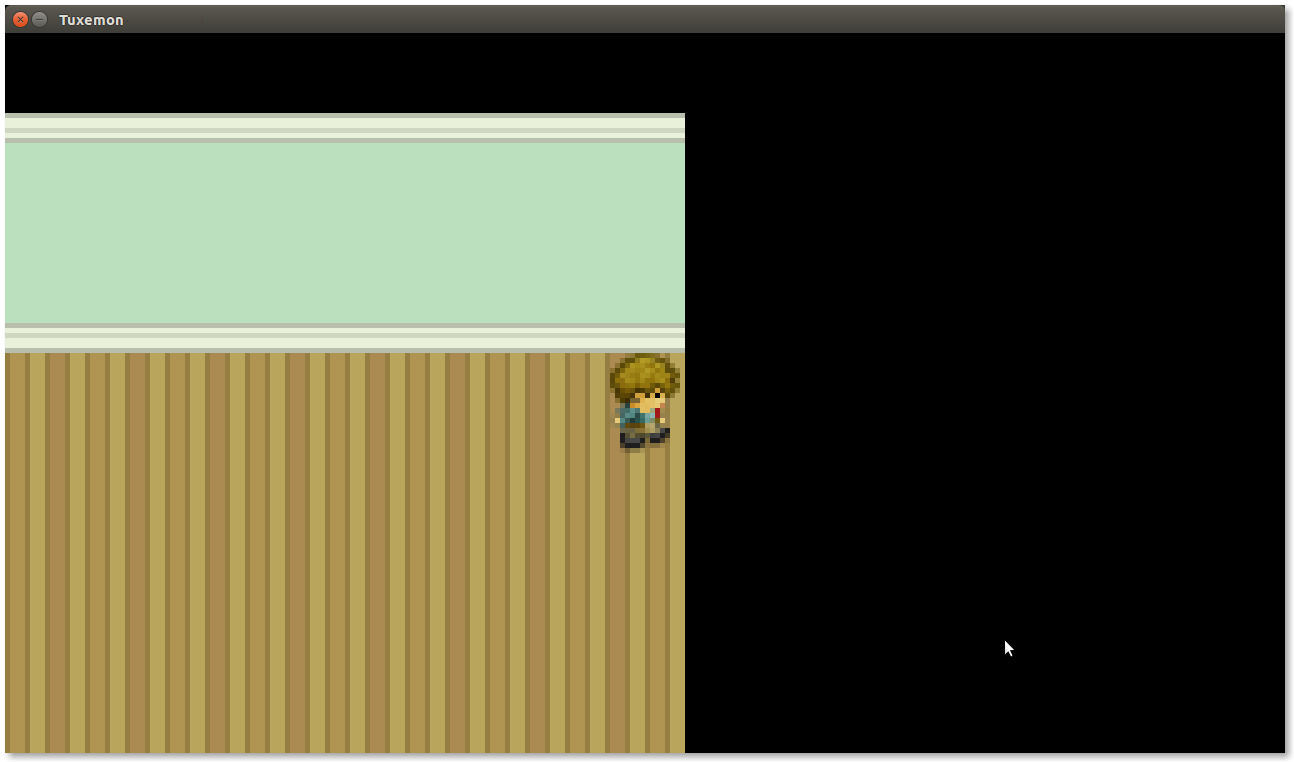
10. Now launch Tuxemon and walk around your newly created map! You'll notice that you can walk through walls...
So now we've created a pretty sweet looking room, but when you walk around, you can go straight through walls! How do we stop that from happening? Well, we can stop that by...
Setting Collision Areas[edit | edit source]
If you don't want the player walking through walls, you'll need to set up some collision areas on the map to define where the player can or can't go. We can create these areas with the same [Tiled](http://www.mapeditor.org) map editor we used to create the map itself. So let's start adding some collision areas!
1. First, ensure that you have "Snap to grid" enabled by going to View -> Snap to grid:

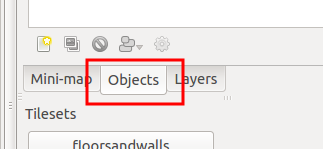
2. Collision areas are defined in an "Object Layer". Click on the "Objects" tab and click the  icon to create a new Object Layer.
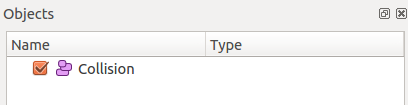
3. Name the new object layer "Collision".
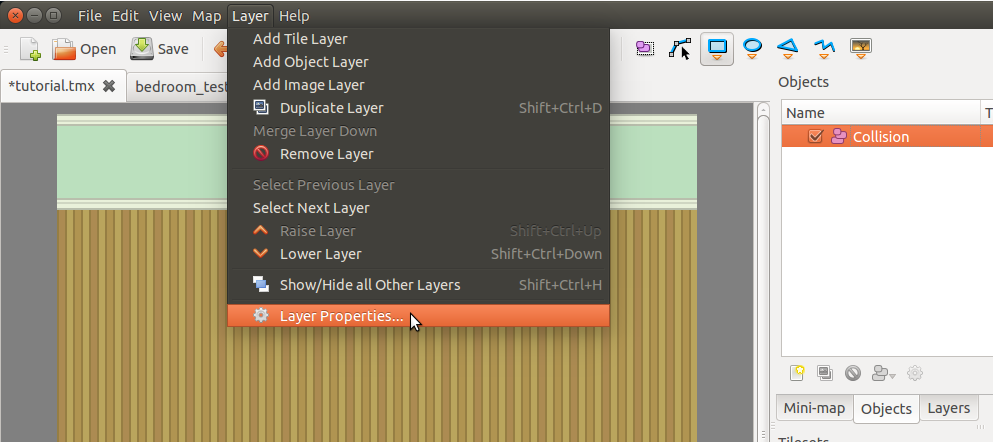
4. Next, with the "Collision" layer selected, go to Layer-> Layer Properties....
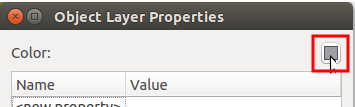
5. Click on the color box and change the color of the layer to a red color. This isn't strictly needed, but it will let us differentiate our collision layer from other object layers. Once you have selected the layer color, click "OK" to close out of the layer properties.
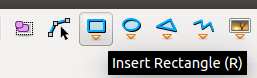
6. Click on the  icon at the top of the screen to select the rectangle tool.
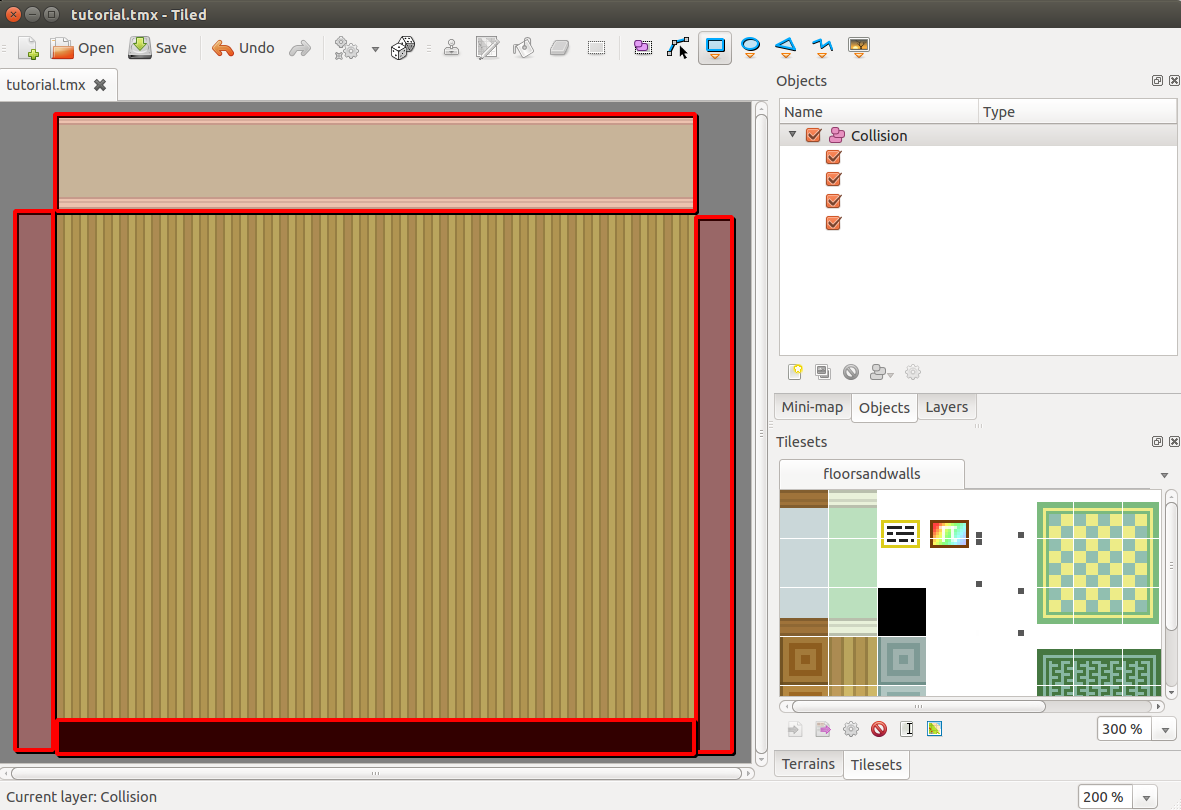
7. Now draw rough rectangles around the areas that you don't want the player the be able to pass through.
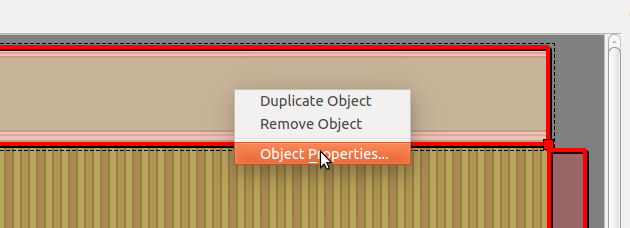
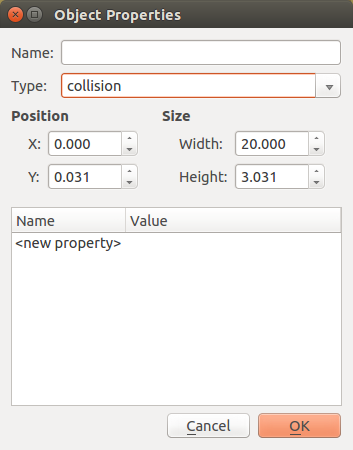
8. Next, we need to go to the object properties of each of these rectangles and set their "type" to "collision" as well as position and size to a whole number. You can do that by right clicking each rectangle and going to Object Properties...:
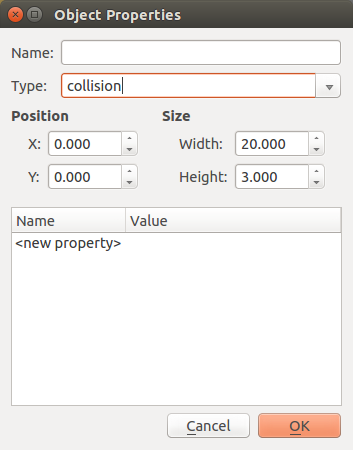
9. Now let's set the "type" of this area to "collision" and round these coordinates and sizes to a whole number:
10. You can also use polylines to set boundaries that are smaller than a single tile in width. This is useful for many areas, including the boundaries of a map. Creating polyline collisions is done just like collisions described in steps 6-9. Instead of selecting the rectangle tool, select the polyline tool. Now left click at the beginning of where you want a line. For example, if you want to create a boundary at the top, click at the top-left or top-right corner. Now move the mouse across the top and click where you want it to end (in this example, the other corner). Now right click to end this polyline. (Right now only single edge polylines are supported.). Instead of giving it the type "collision", you need to give it the type "collision-line". Now you have a collision line!
12. Save your map and launch Tuxemon. Now you can't walk through walls anymore!
So now we have a room with collision areas so our character doesn't walk wherever they please.
Using Animated Tiles[edit | edit source]
Tuxemon and the Tiled map editor also supports the use of animated tiles. This is great for things like water tiles or animated signs that can add more life to your map. If you want to include animated tiles in your map, use these simple steps:
1. Open up the "Tile Animation Editor" after you have a new map created and tileset added.

2. Select the frames used in the animation and the time in milliseconds between each frame (defaults to 100ms)

After that, you should be able to select the animated tile from the tilesheet (it will have a little film stripe across it) and place it on the map!
Map Events[edit | edit source]
Now to really make it a fully fledged map, we need to add map events. Actions and conditions are the heart of every map. They define events that happen on the map, what maps the map connects to, etc.
Guides[edit | edit source]
Recipes[edit | edit source]
Ledges[edit | edit source]
Ledges have the "collision" type and the following properties:
- continue (the direction you want the movement to continue in
- enter_from (the direction the player can enter from)
- exit_from (the direction the player can leave from)

FAQs[edit | edit source]
How do I tell what map bug caused the game to crash?[edit | edit source]
If you open cmd or the windows console, then navigate to the folder, you can run the game in the command prompt and any errors will stay in that window.
It's a chore to add the "collision" type to all collisions I've drawn in Tiled[edit | edit source]
Ctrl+A to select all, then set the Type to "collision" and they'll all get it.
How to update dialogue[edit | edit source]
You have to add to mods/tuxemon/l18n/<LANGUAGE>/LC_MESSAGES/base.po
Why isn't my dialogue updating?[edit | edit source]
You have to manually remove the *.mo files of your language in order for them to be reconstructed before launching the game
Why aren't my events happening in order?[edit | edit source]
Tuxemon follows the order act1, act2, act11, act 12, etc., while Tiled displays in the order act1, act11, act12, act2, giving the impression that they'll be resolved in that order.